

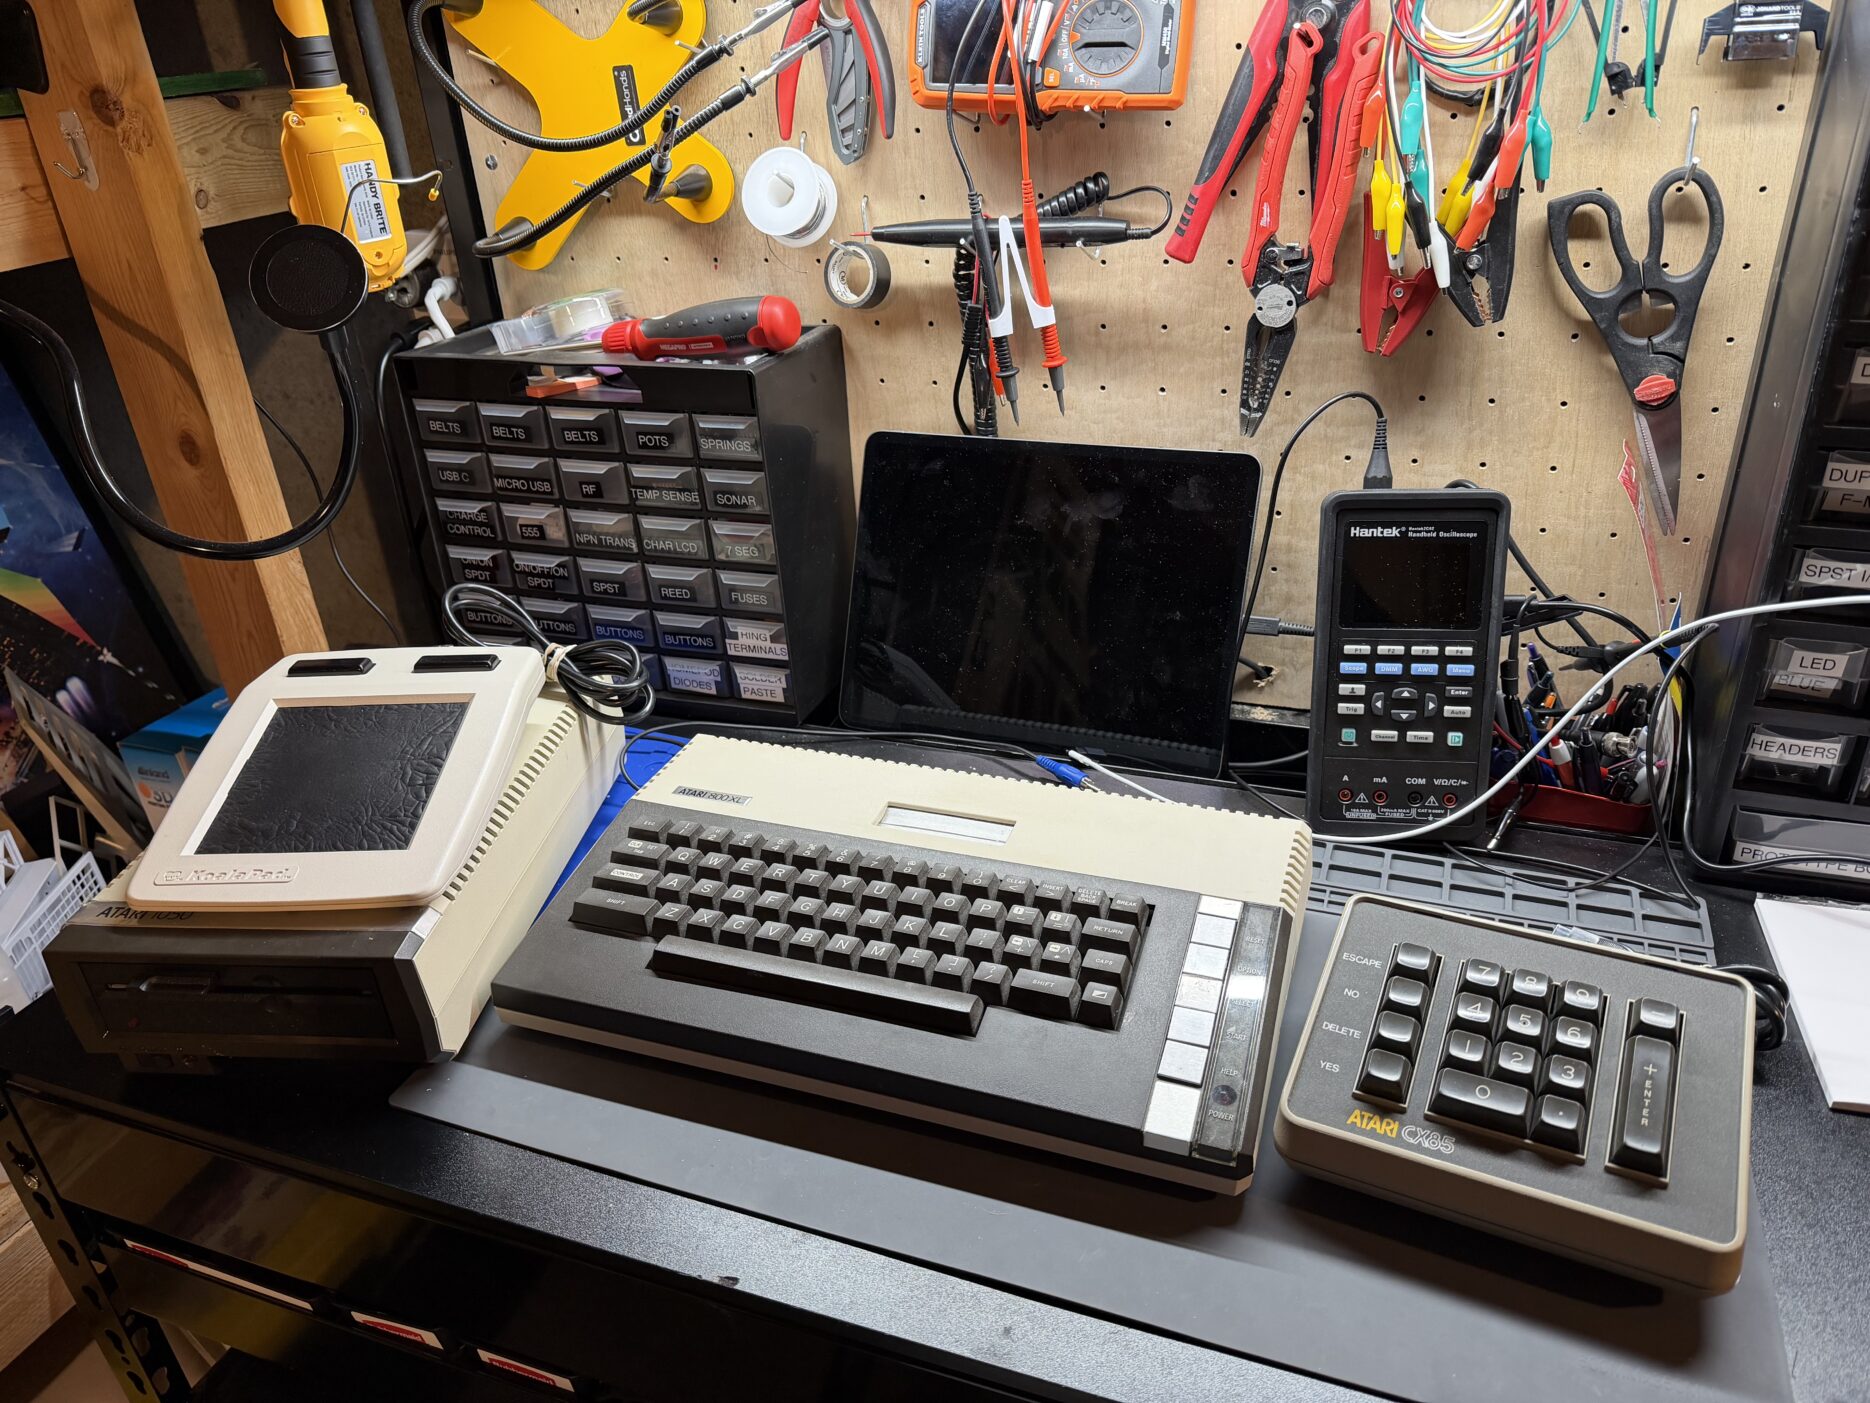
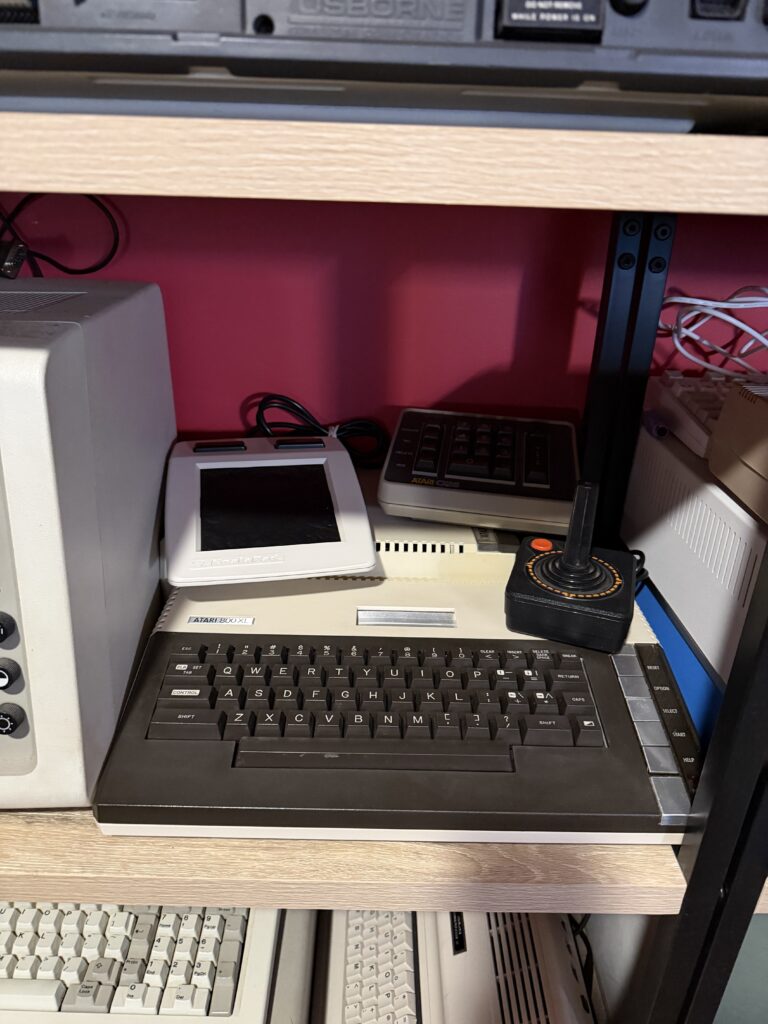
A few months ago, I was browsing the shelves at a local Vintage Stock when I came across an Atari 800XL with a disk drive, numeric keypad, and Koala pad. It’s an odd thing for a company that usually carries video game consoles to have. I suspect whoever accepted it just saw the name Atari and assumed it was video game related. It was clear they didn’t know exactly what it was since it was labeled as a “1050 bundle” and listed that it “includes a keyboard”. For only $250, it was a good enough deal to pick up and take home, untested.
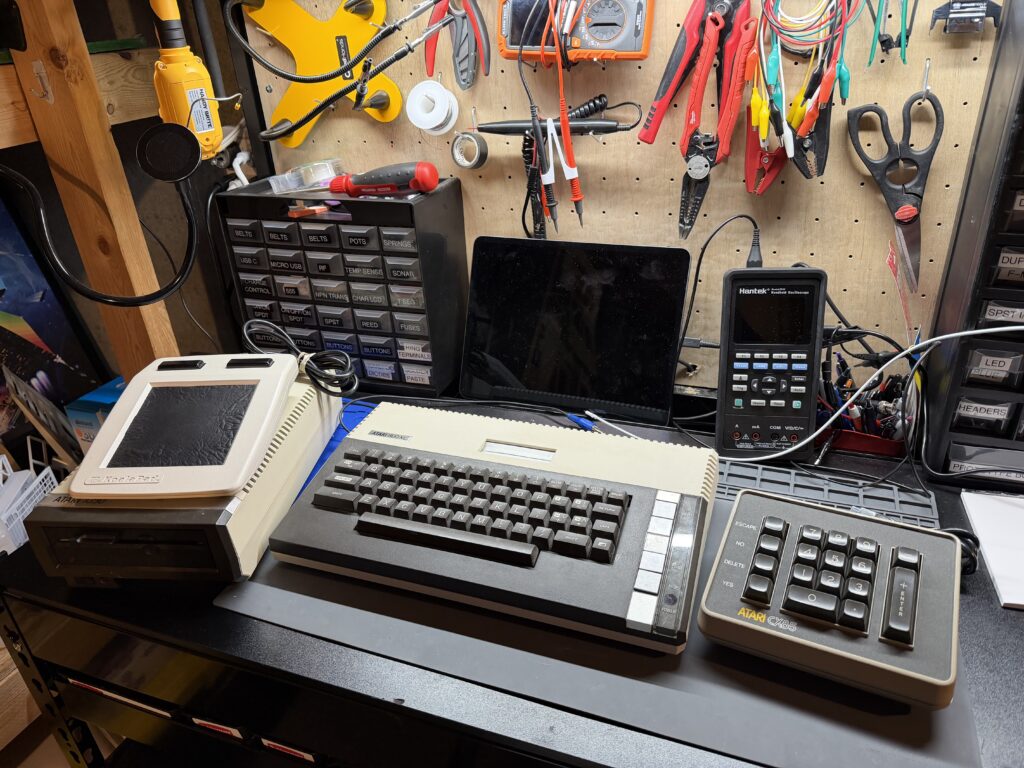
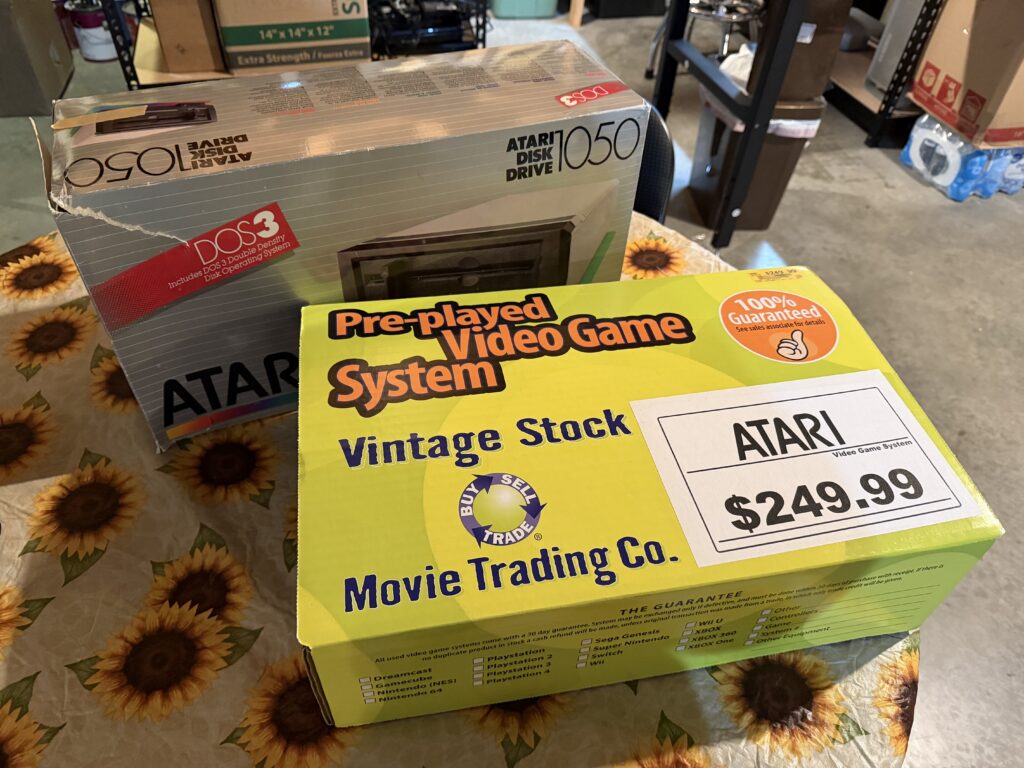
Visually, it was in pretty good condition and it came with the original box for the 1050 floppy disk drive. The Koala pad was noticeably degrading, though. That isn’t uncommon. The adhesive under the top layer starts to let go after 40+ years, giving it a worn leather-like appearance. It should still work as-is, and replacing that top layer is a pretty simple fix if needed.
Self-Test Errors
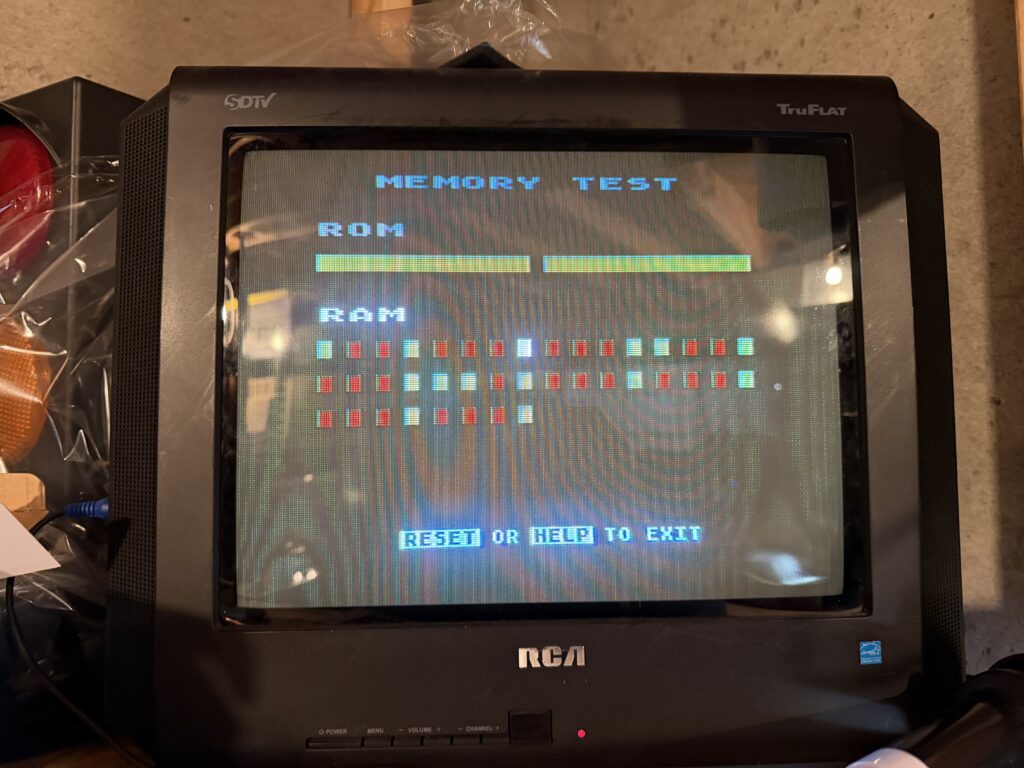
Once I got it home and powered it on, the machine jumped straight into its built-in memory test. This isn’t the normal behavior and is indicative of some kind of failure. When an 800XL boots, it quickly verifies the checksums stored in the ROMs and tests RAM by writing all 1s and then all 0s. If any of those checks fail, the machine skips the normal boot and drops into the memory test instead.
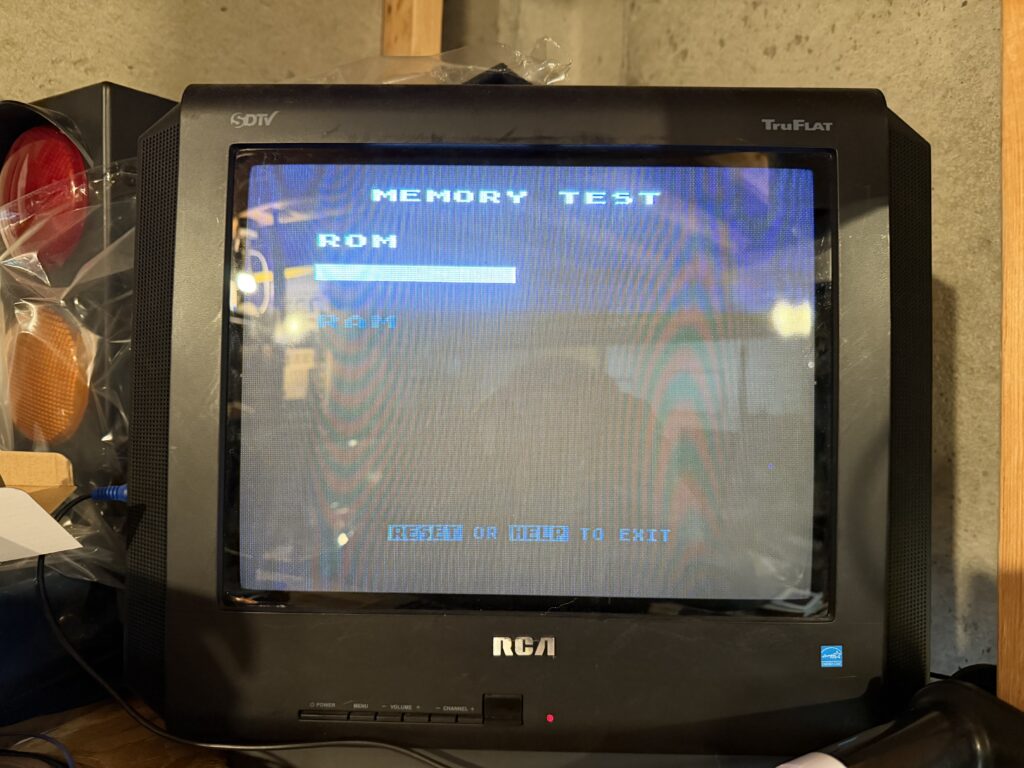
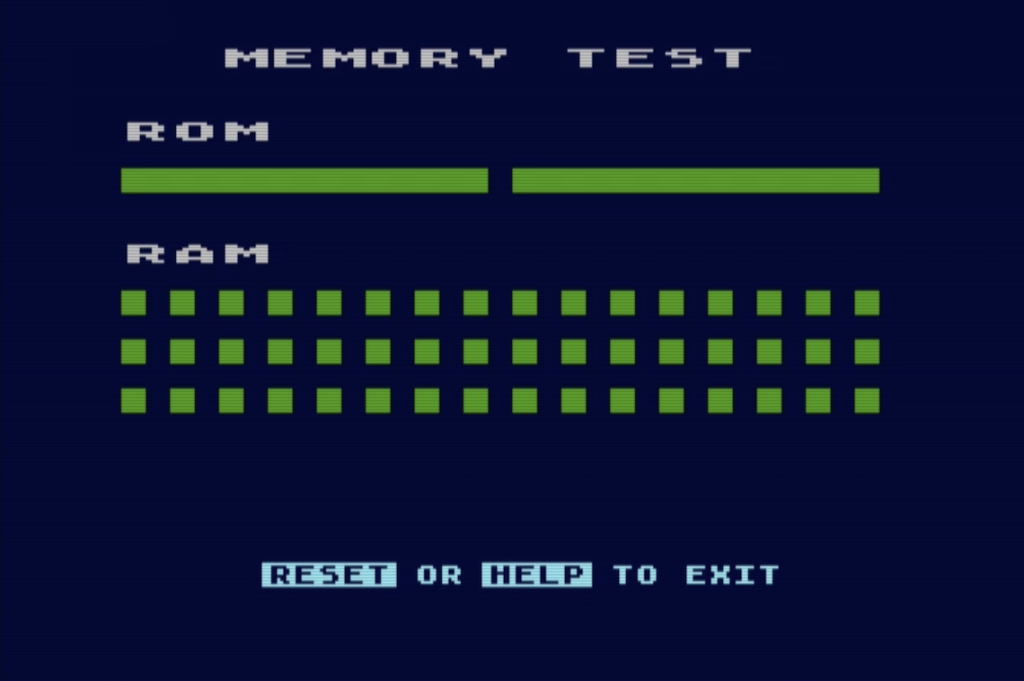
A healthy memory test looks like this: two green bars under ROM, and 48 green dots under RAM. What I had was a failure at the very first ROM check.
I referenced the excellent documentation at atari800xl.eu to better understand the Atari self-test behavior.
Opening It Up
Time to open it up and troubleshoot the issue. Opening the case also allowed me to pull composite video directly off the board, since I didn’t have the correct breakout cable for the monitor port.
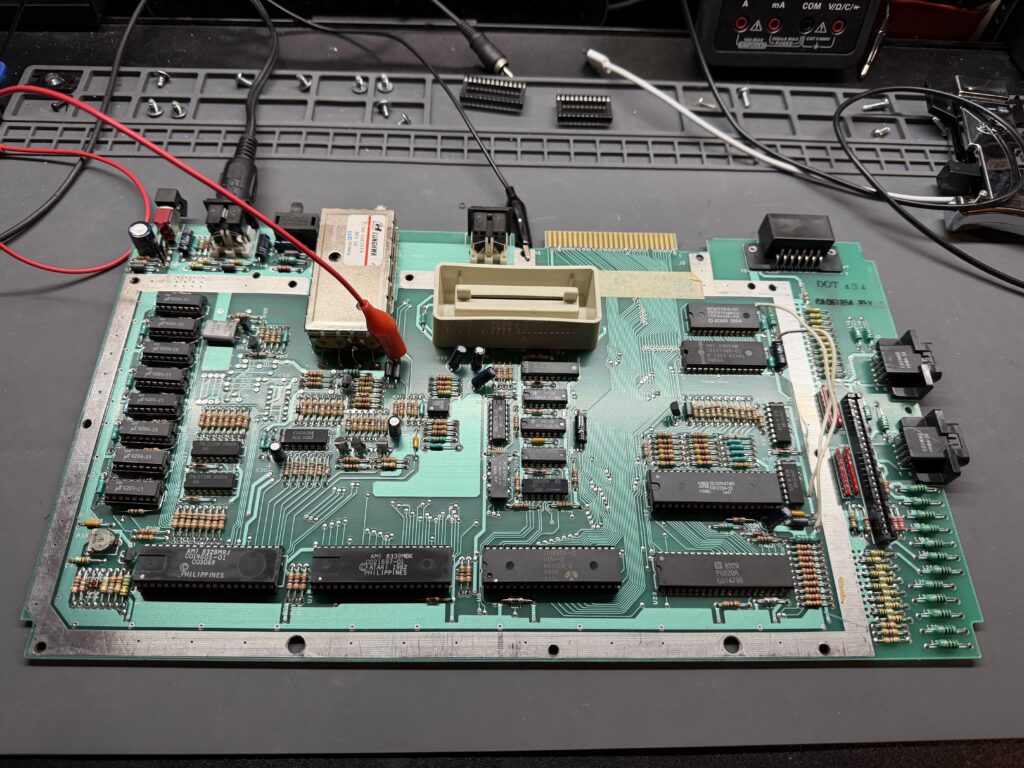
The first good sign is that the RAM was socketed. Unfortunately, it is the notoriously unreliable MT chips that plagued so many computers of this time.
The ROM chips were unfortunately soldered directly to the board, which is less ideal when the ROM check is the thing failing. I went ahead and installed sockets for the ROMs to make future work easier.
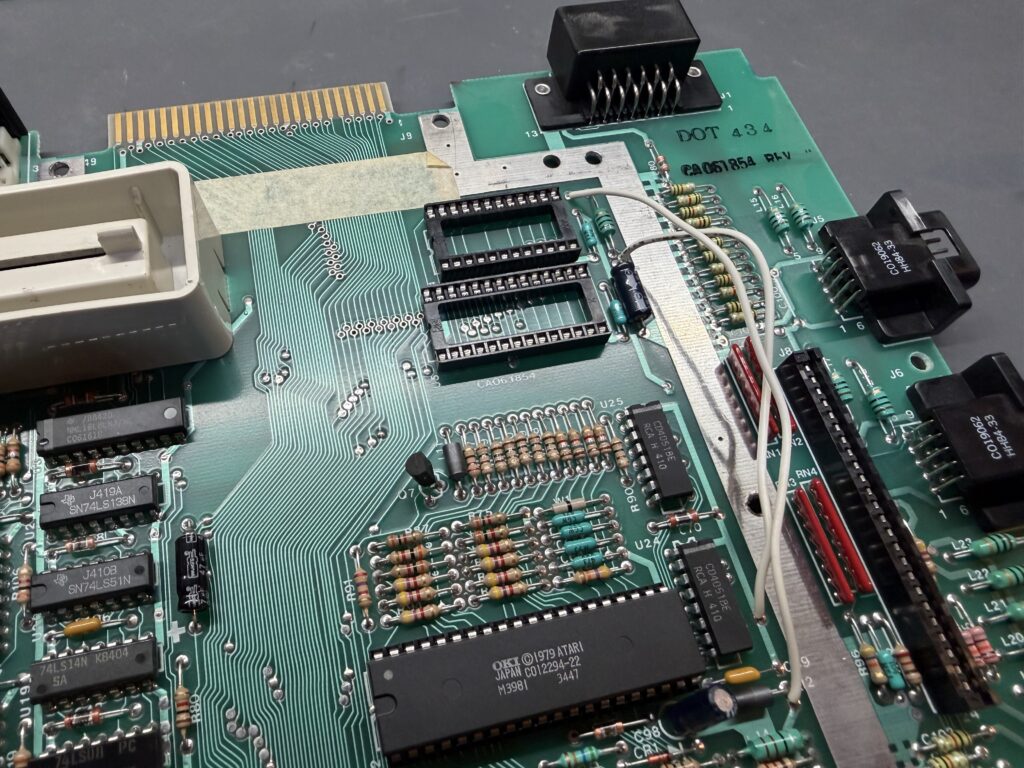
After replacing the chips in their new sockets, I probed around the with my oscilloscope but didn’t find anything obviously wrong. The traces were all still intact and the levels on the data and address lines all looked normal. I was able to find a copy of the original service manual on archive.org to help with this step.
If I wanted to keep going down the path of troubleshooting the ROM, I would have to break out my ROMulator to replace the existing chips, but setting up the memory maps for it is enough of a pain that I wanted to avoid it if possible. And those MT RAM chips were definitely a red flag.
Finding Bad RAM
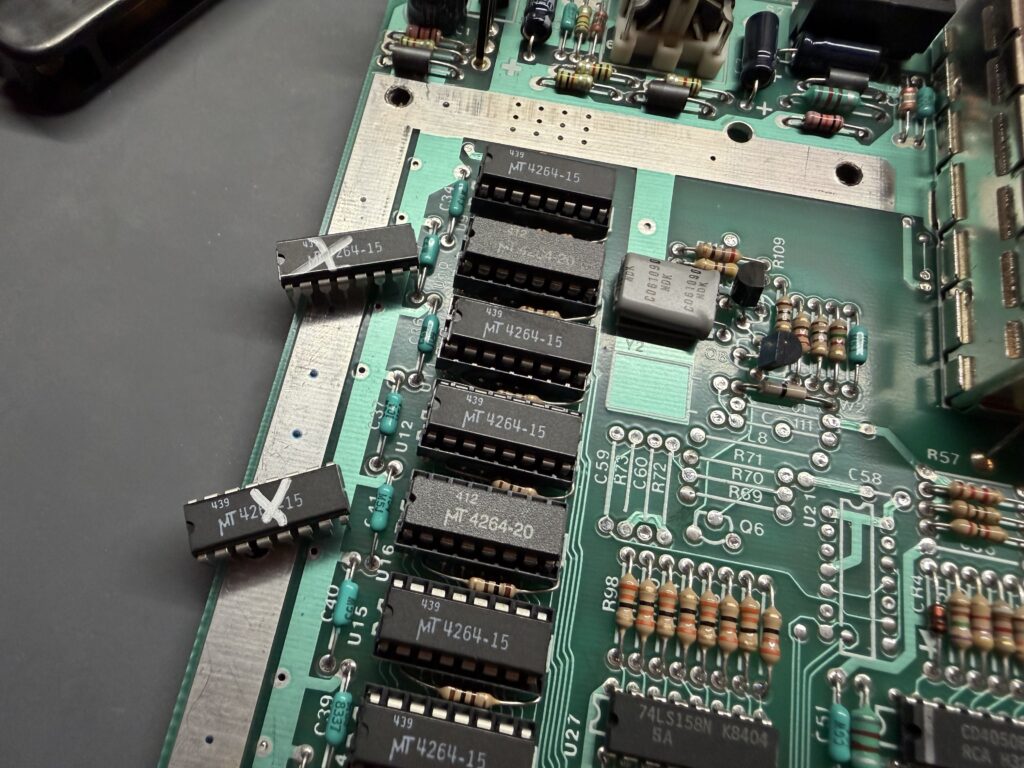
The socketed RAM made it easy to just start swapping chips out and see if anything changed. Sure enough, I found a bad chip. Replacing it allowed the memory test to continue running, revealing there was still more bad RAM to find.
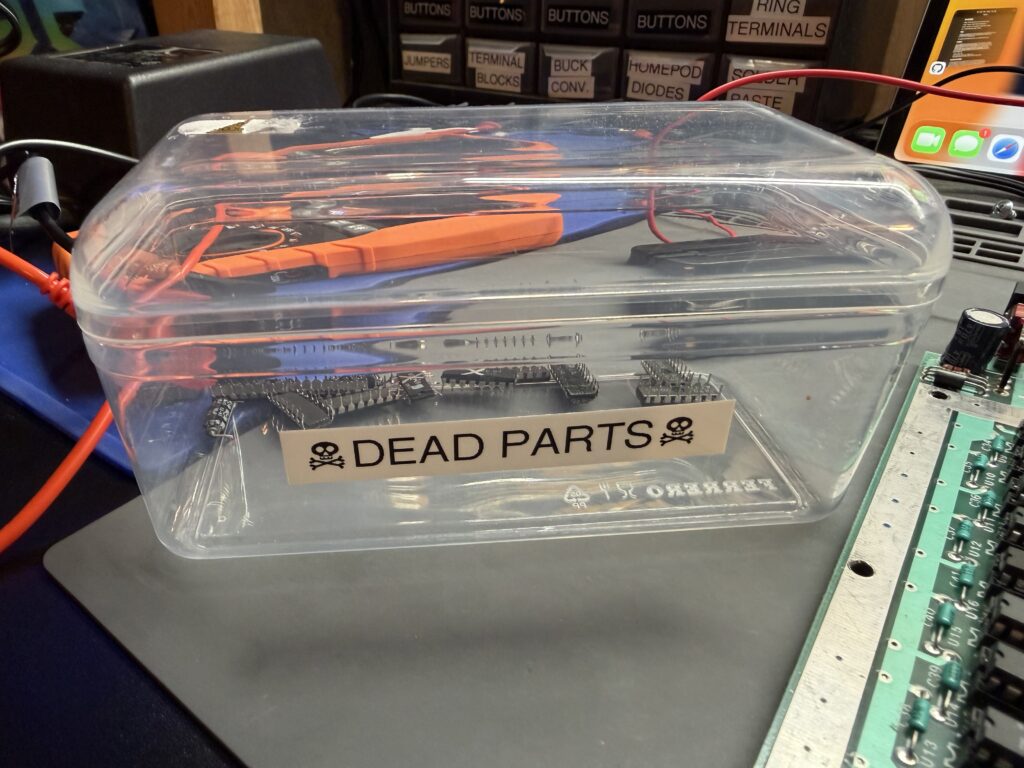
In the end, two chips came out and went straight into the dead parts bin.
Fixed
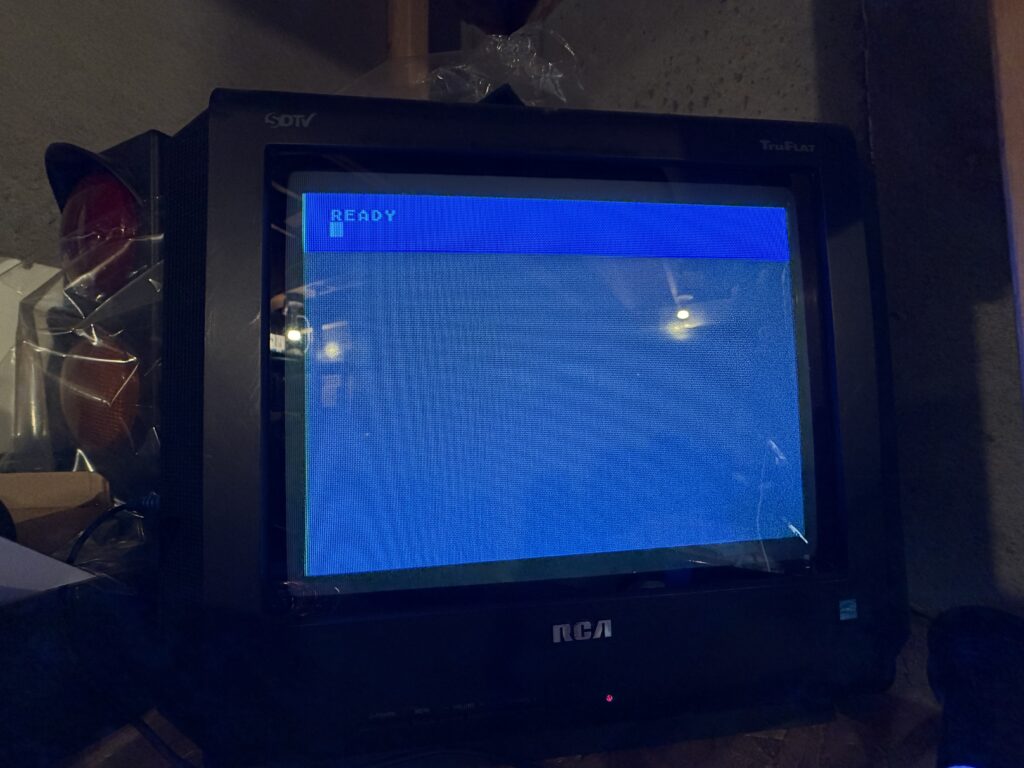
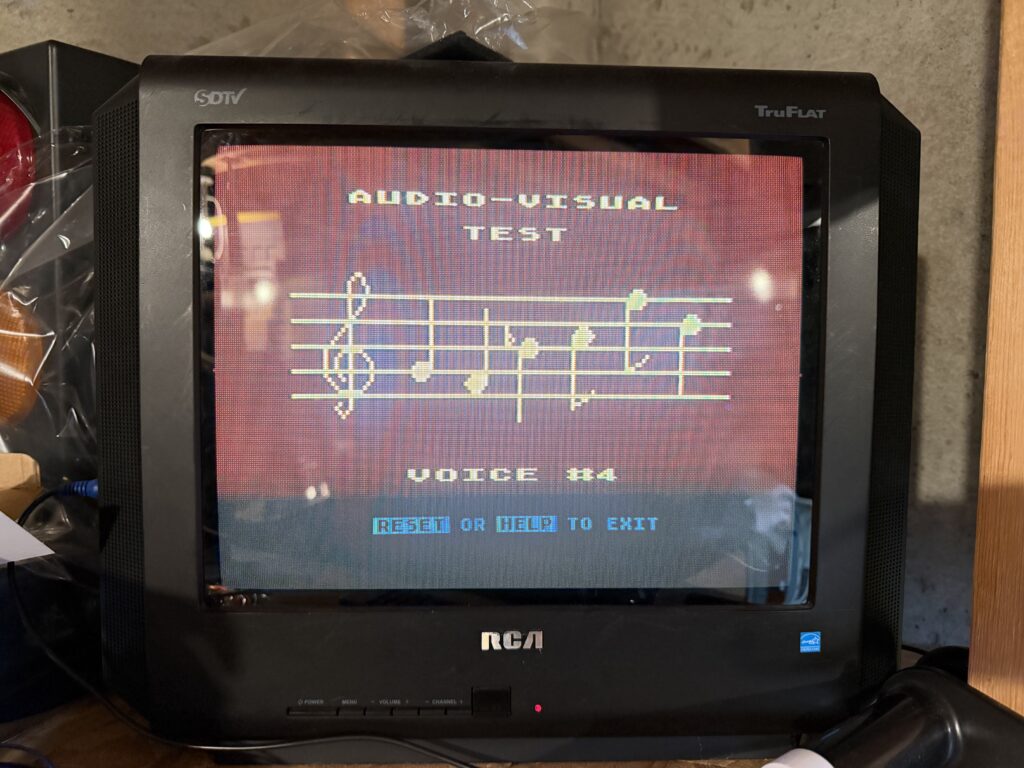
With both bad chips replaced, the machine booted cleanly to a blue “Ready” screen and passed the audio-visual test.
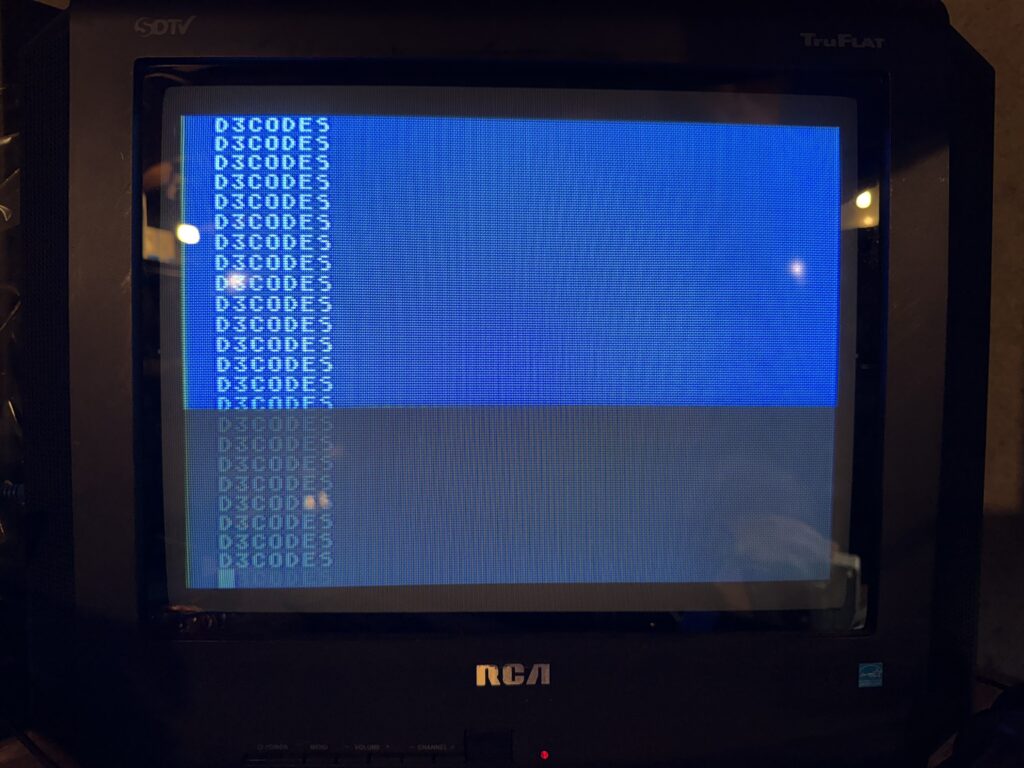
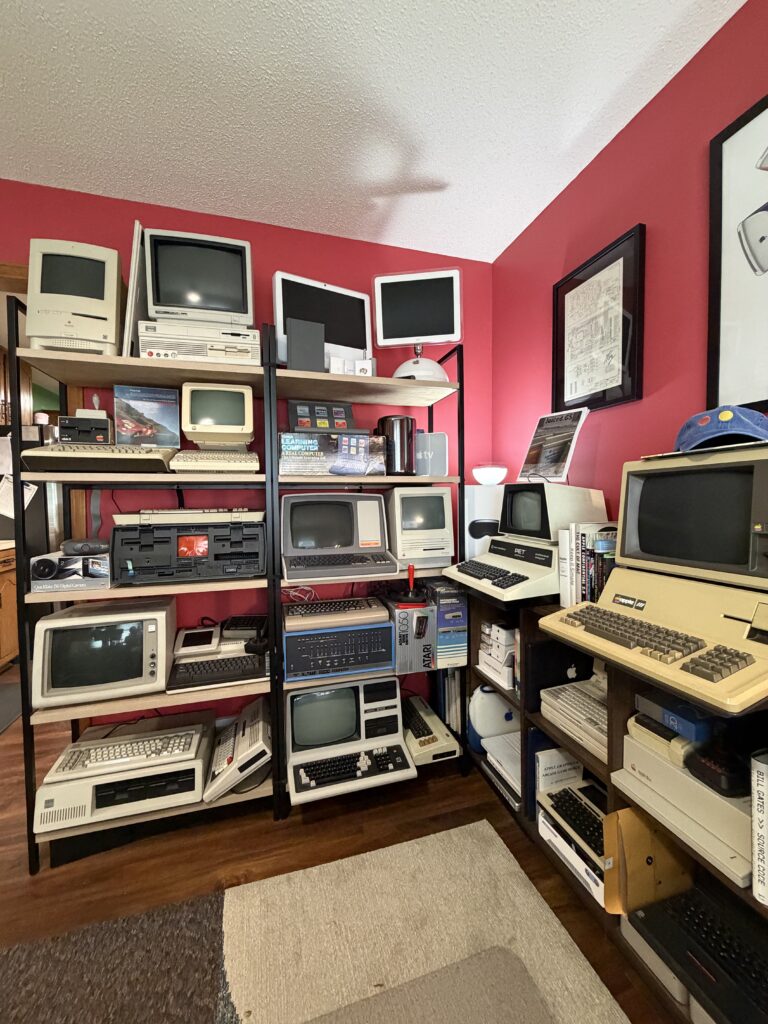
After a good cleaning, it was ready to be the first Atari on display in my office — right at home alongside the rest of my collection.
Tools Used
- Hakko Soldering Iron
- Hakko Desoldering Gun
- Hantek Handheld Oscilloscope
- Hakko Flush Cutter
- Chip Extraction Tools
- Soldering Mat
- Head-Mounted Magnifier
- Pin Straightener
As an Amazon Associate, I earn from qualifying purchases.