
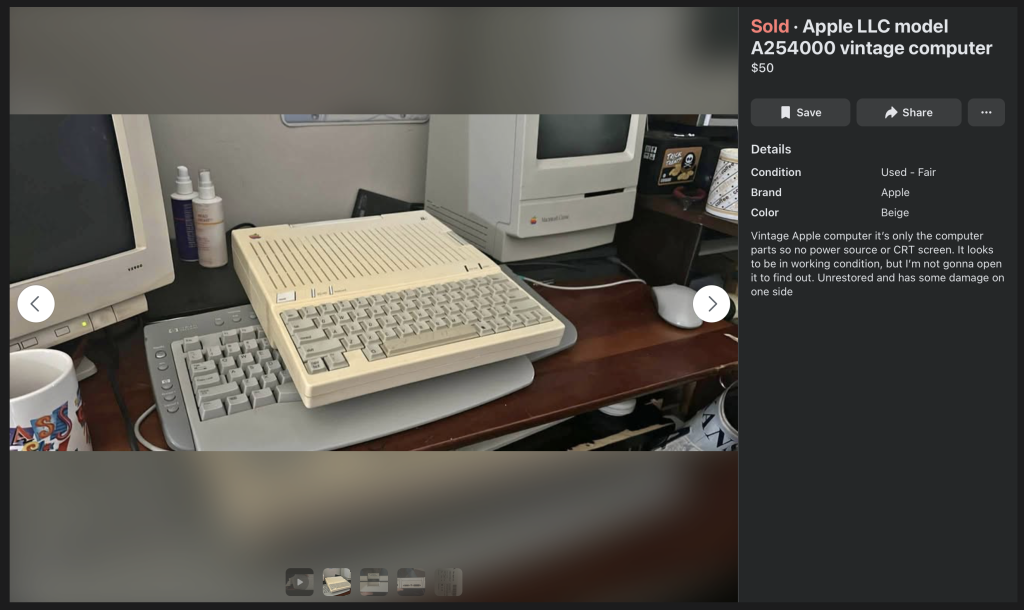
A couple of weeks ago, I came across an Apple //c on Facebook Marketplace for only $50. It was untested but appeared to be in pretty good condition, so I picked it up!
The first thing I did (that I didn’t document) was pull off the keys and give them a good wash. I also removed the terrible, sticky rubber membrane that had completely disintegrated under the keys.
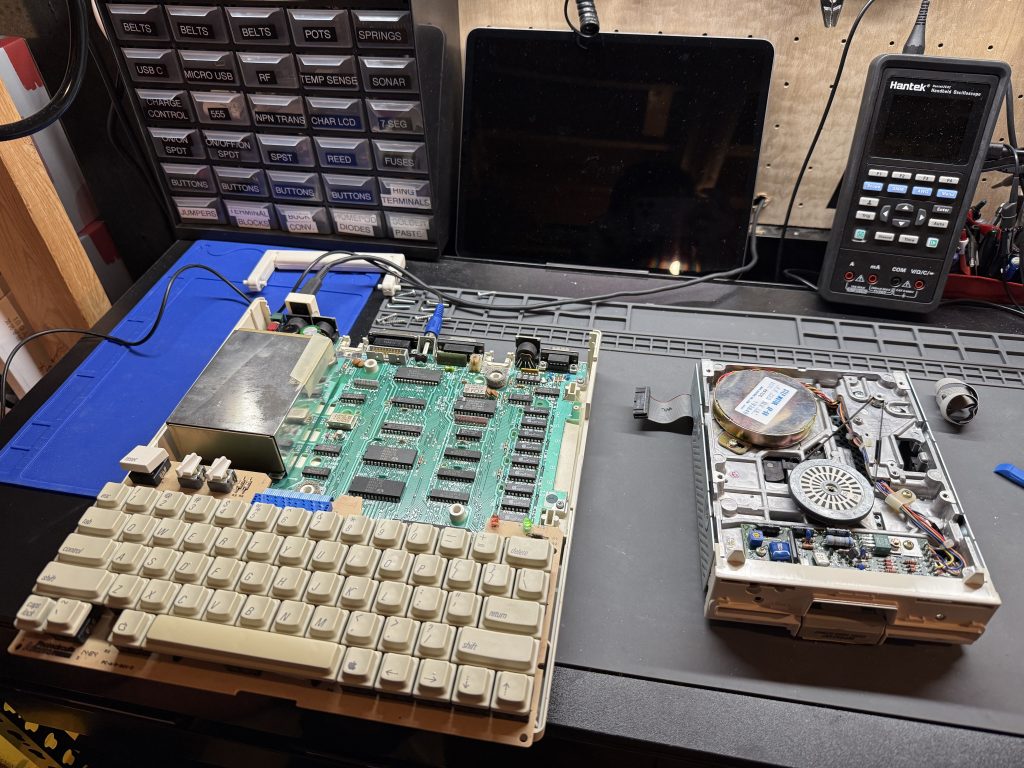
With the computer opened up, I also checked to make sure there were no obvious signs of damage. Everything looked good to be in decent shape, so it should be safe to power it up. I plugged it in using the USB-C power delivery adapter made by Mozzwald and turned it on!
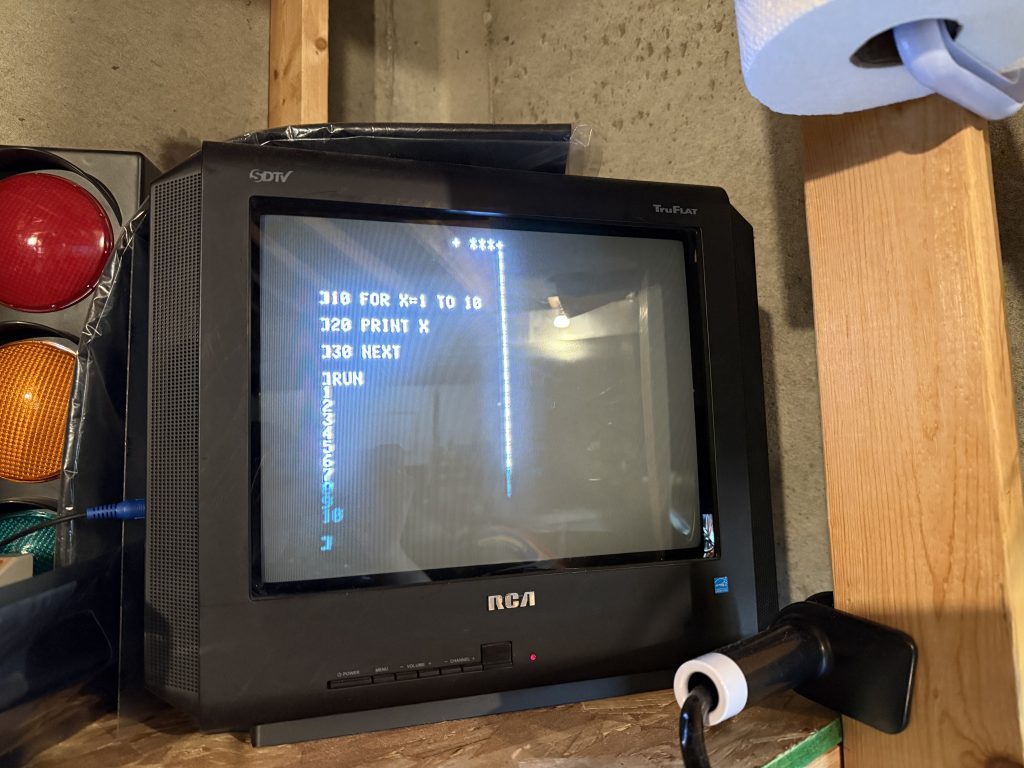
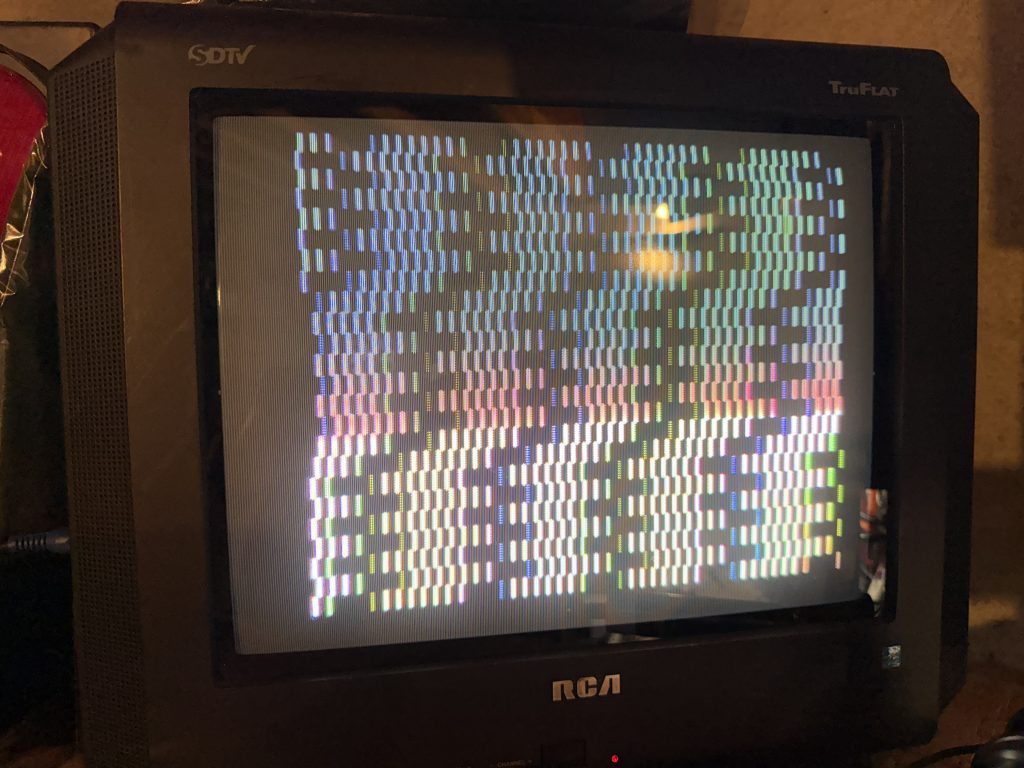
The //c turned on, but had some obvious issues that would need to be addressed. The first thing I noticed was a whining noise coming from the internal floppy drive and the next was random characters appearing on the screen – an indication of one or more bad RAM chips.
Upgrading ROM
This early model Apple //c had the original ROM 255 installed, which has a very rudimentary self-test – displaying only moving rainbow bars. In order to diagnose which RAM chips had failed, I first needed to upgrade the ROM.
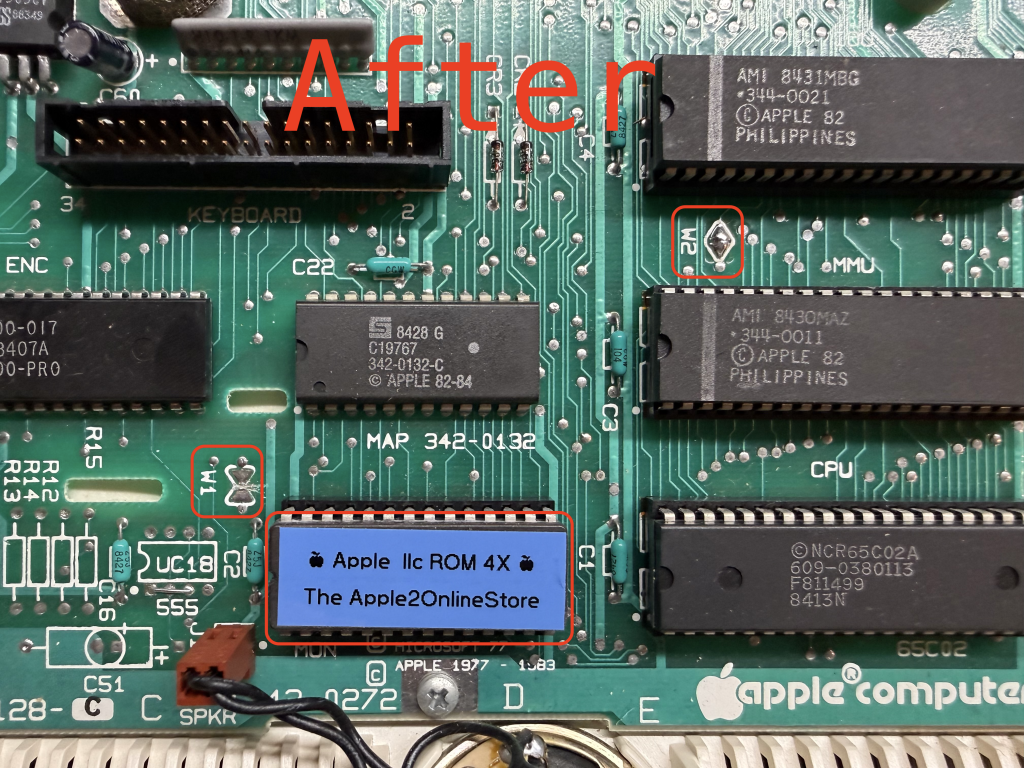
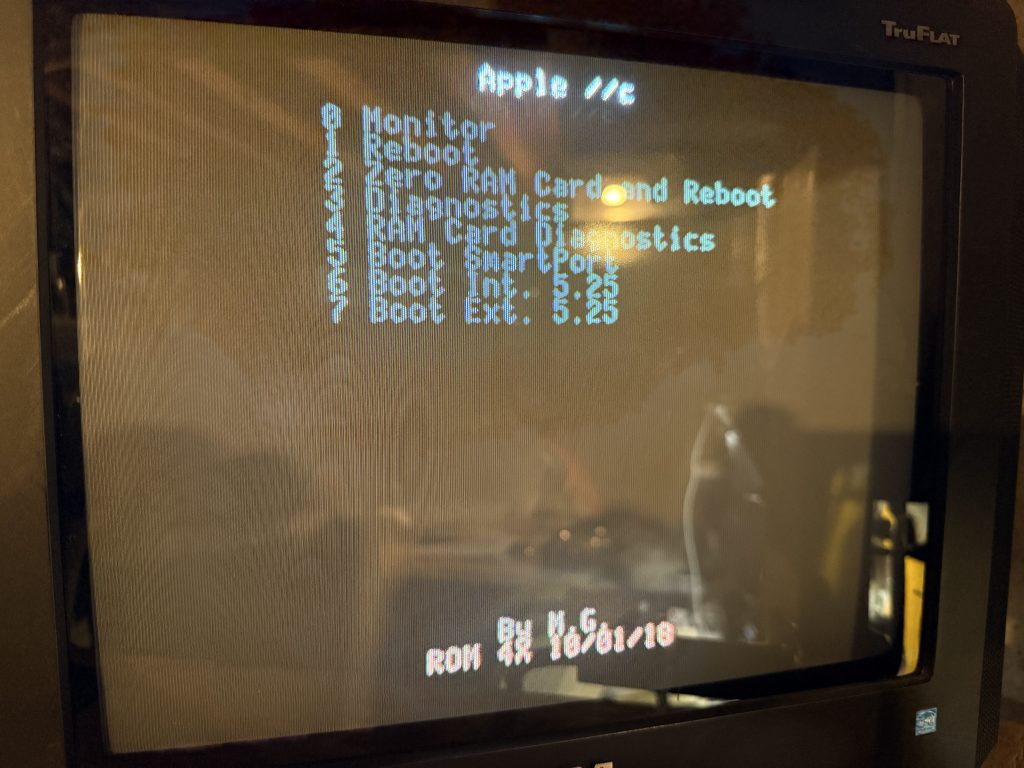
I went with a ROM 4X upgrade from the Apple2OnlineStore. Not only does this newer ROM add a much more useful self-test, it also adds features like a menu that allows the //c to boot from an external floppy drive (something we will take advantage of later).
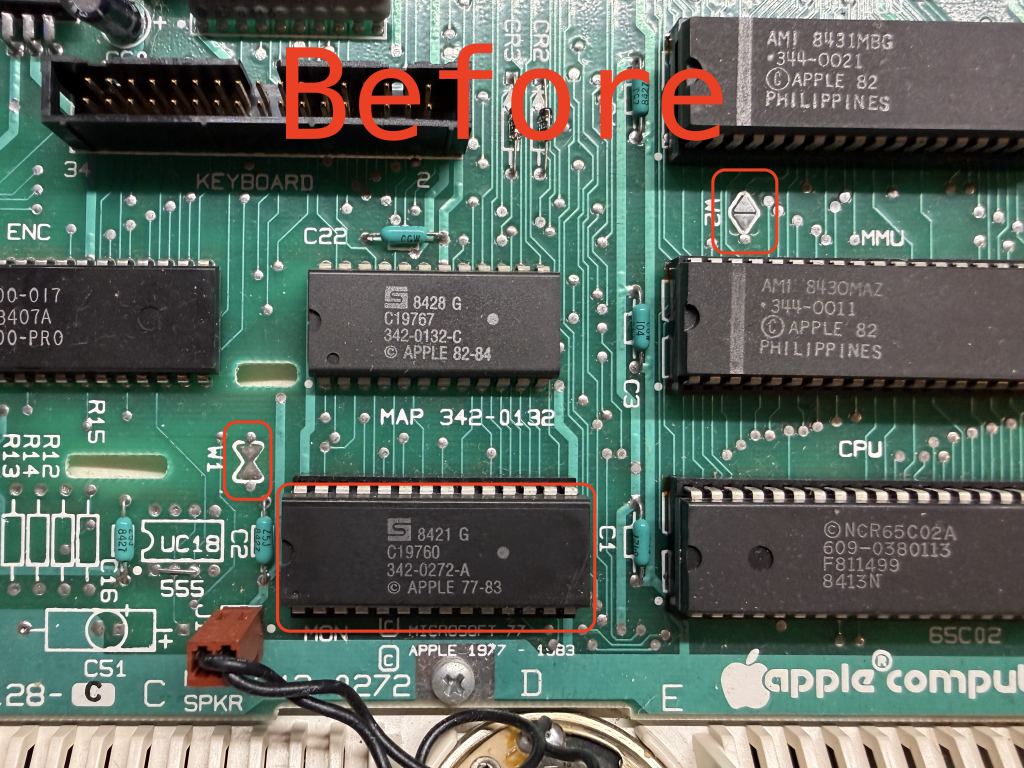
Upgrading the ROM on an Apple //c is a fairly simple process. It requires only swapping the ROM chip, cutting the trace labeled W1, and bridging the pads labeled W2.
Replacing RAM
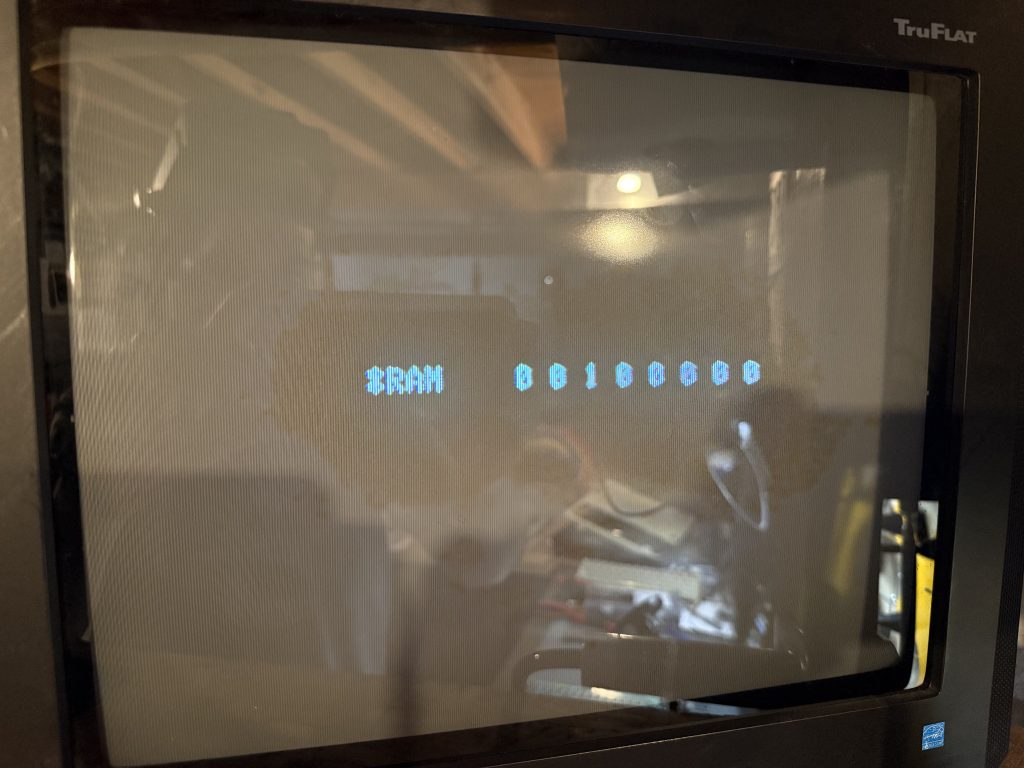
With the new ROM installed, the self-test is now able to identify which RAM chips have failed!
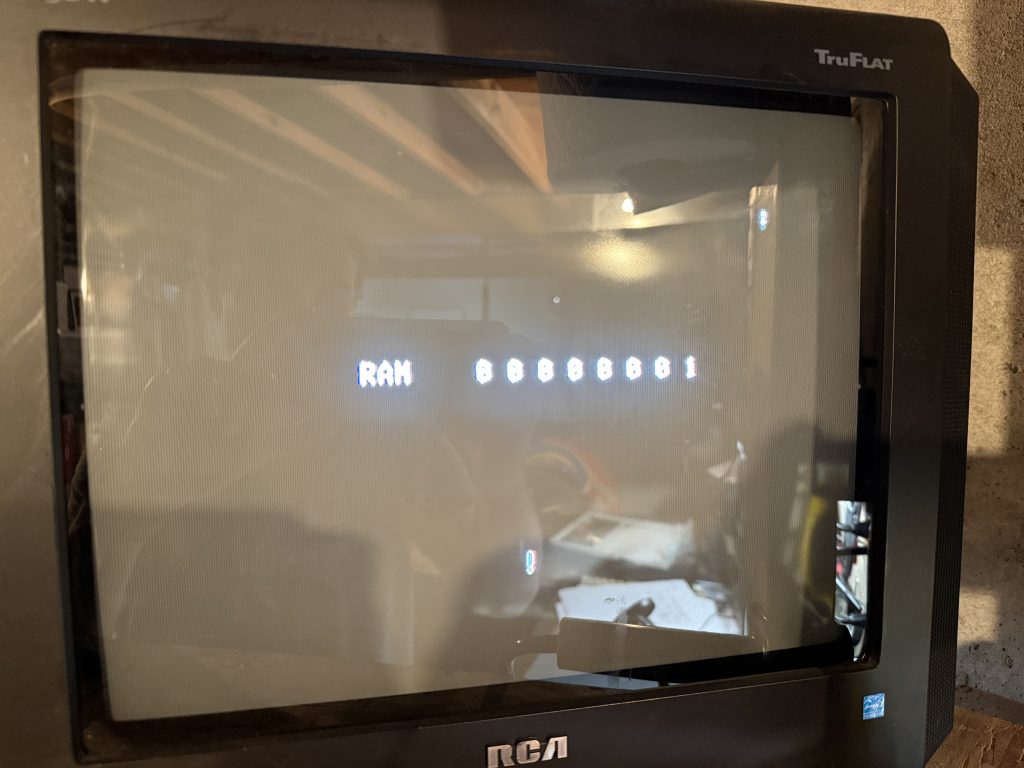
But what does the error message mean? Lets break it down with a helpful graphic from apple2faq.com:
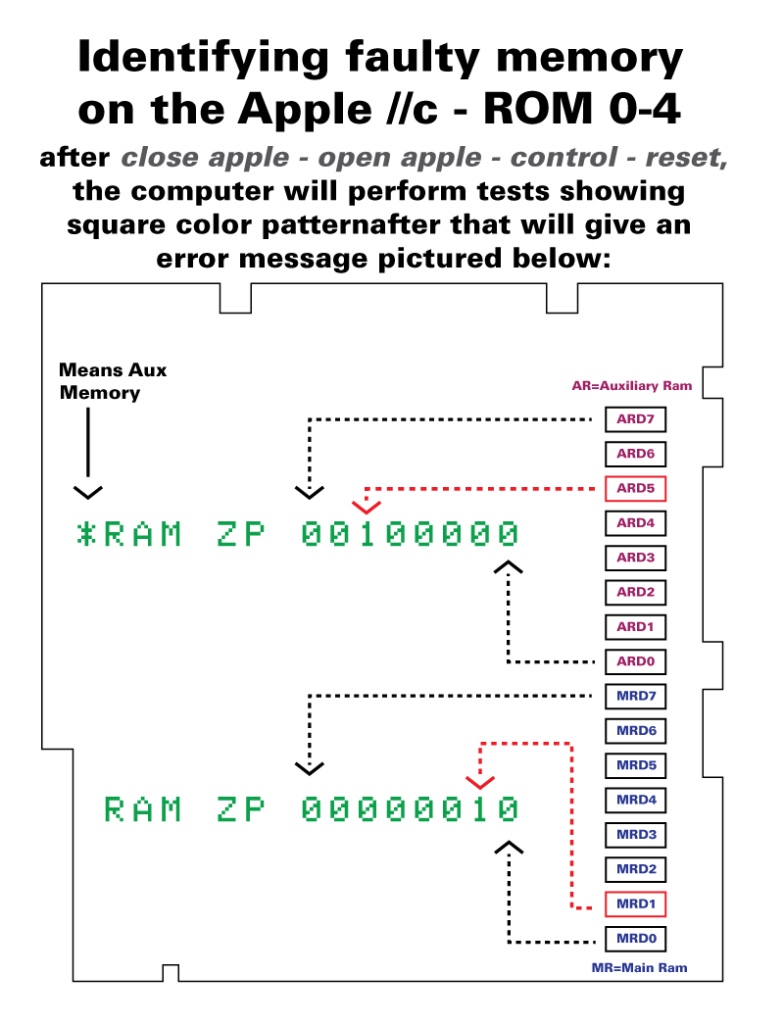
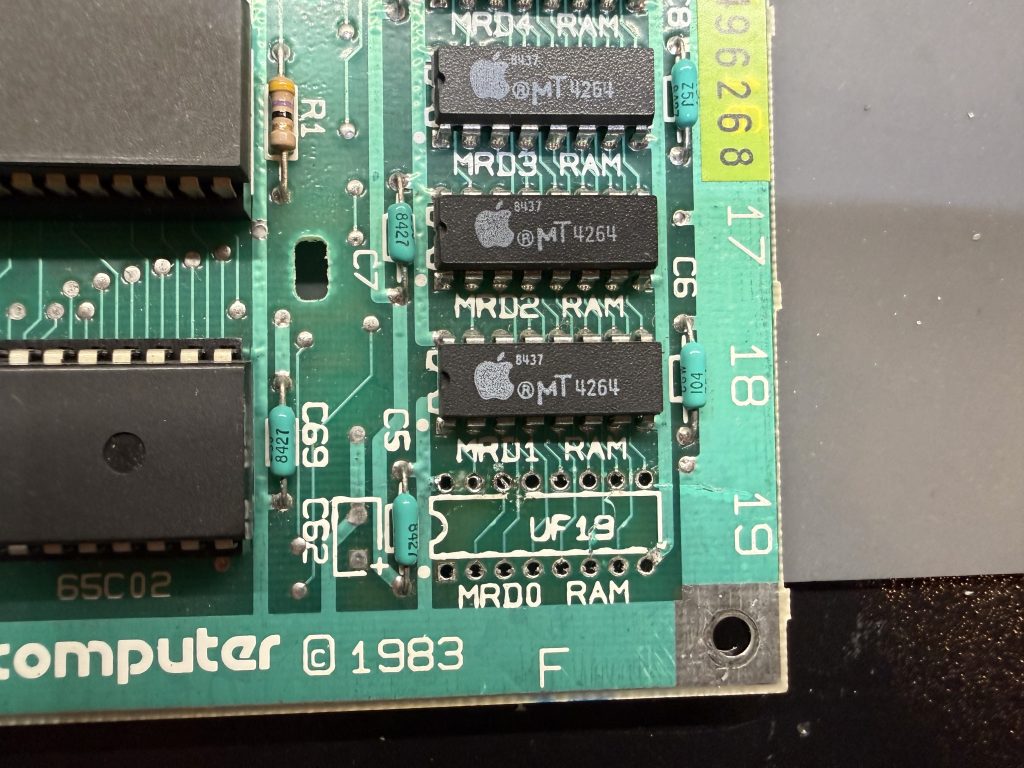
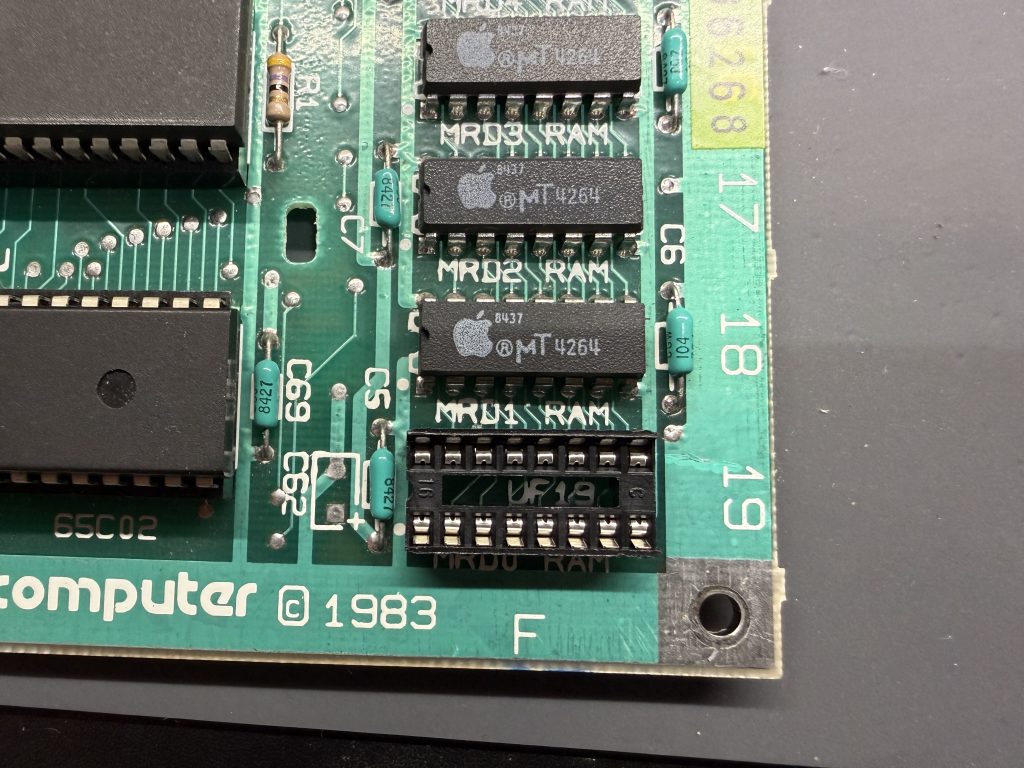
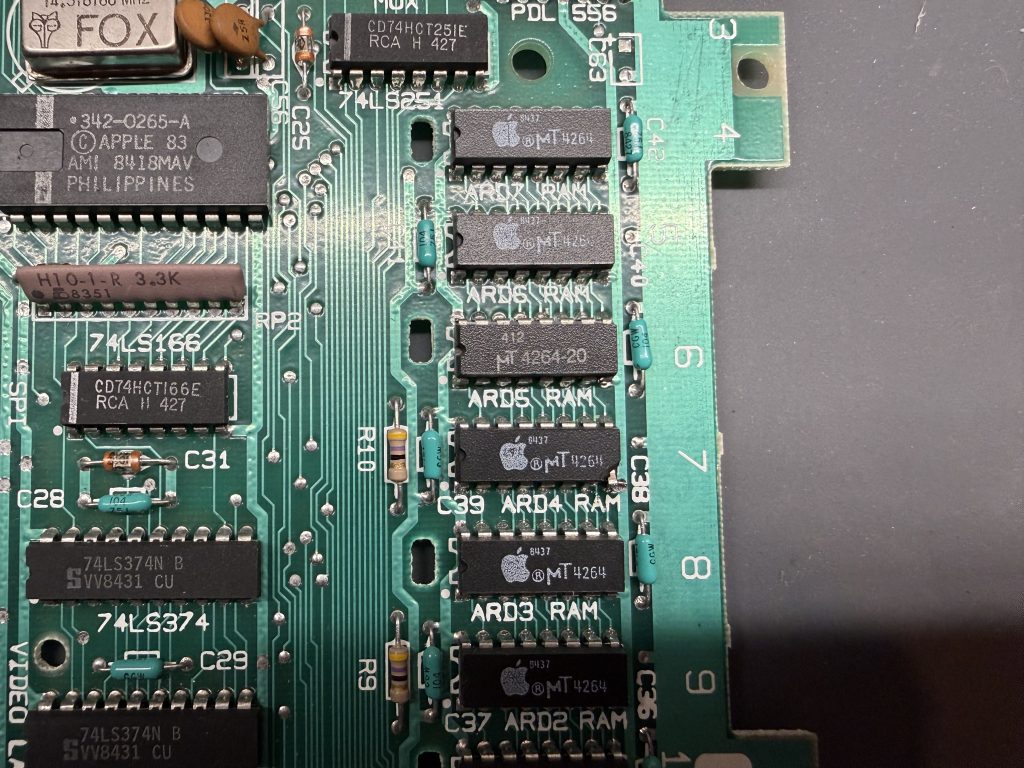
We’re in luck! The first faulty memory chip is located in the Main RAM. This means we can add a socket when we replace it. This isn’t possible with the Auxiliary RAM, because it will not clear the floppy drive.
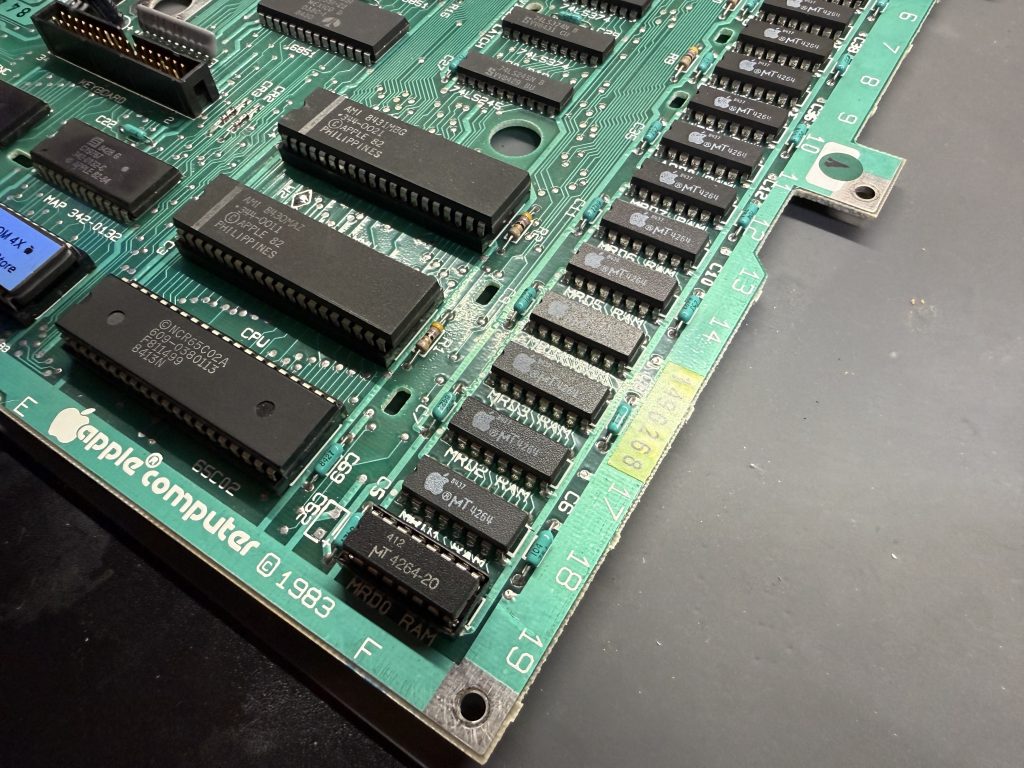
With the new RAM chip in place, the self-test can continue running. Now it has identified a bad chip in the Auxiliary RAM. Another simple swap, but no socket this time.
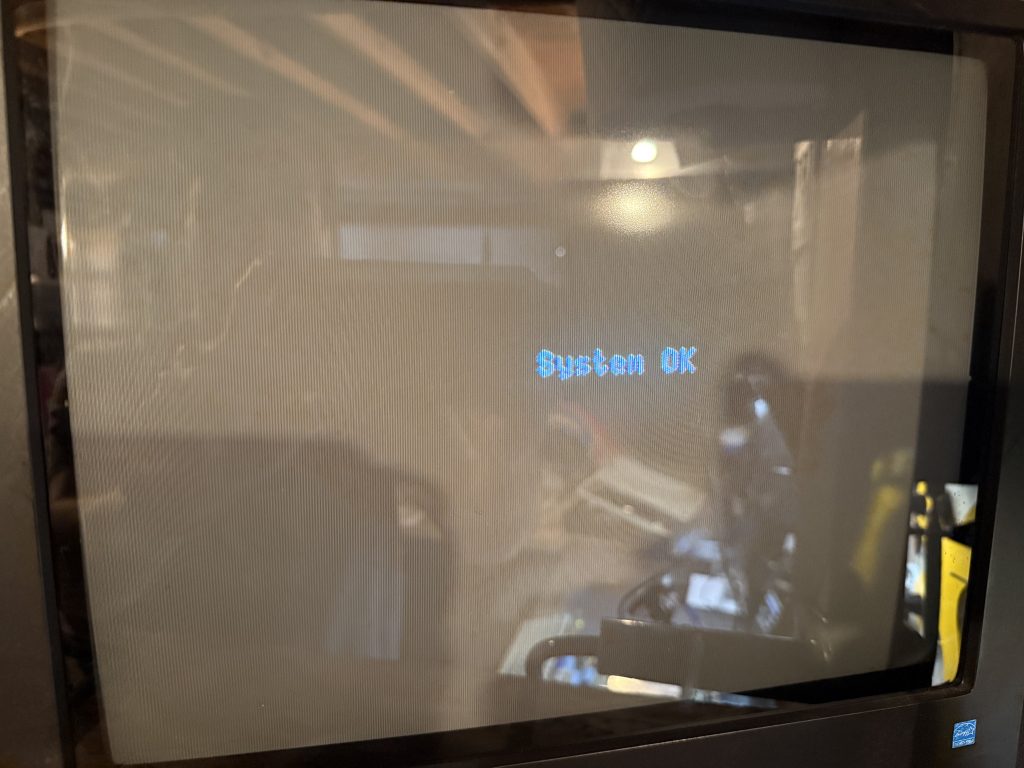
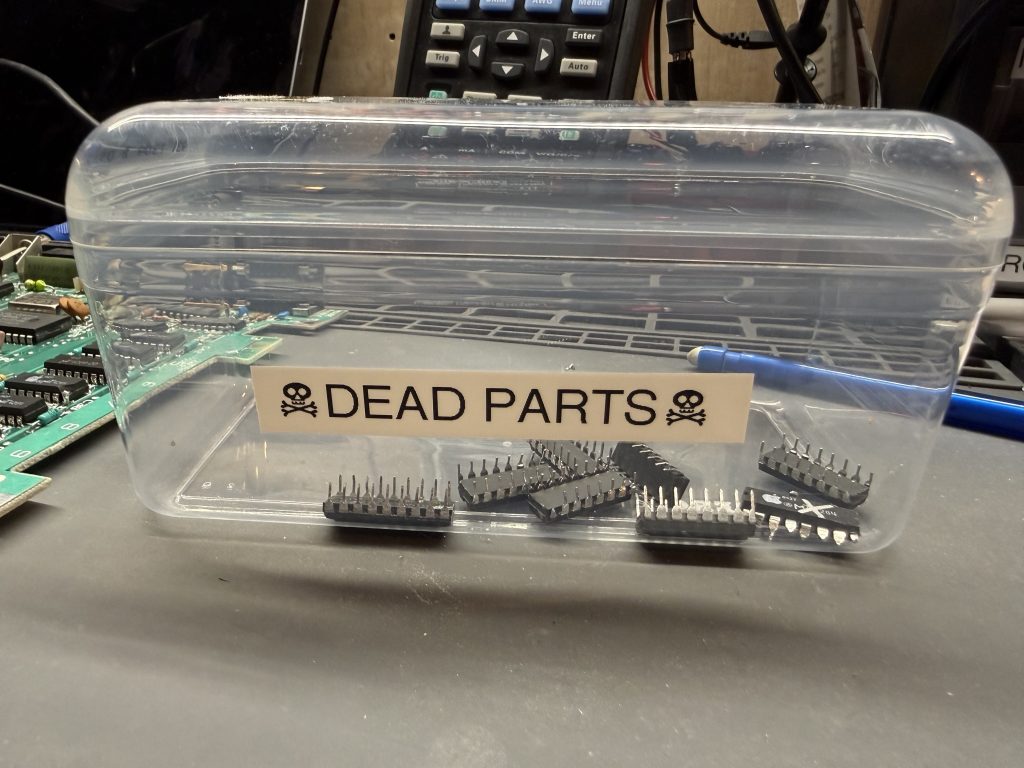
Now we have a passing self-test and more pieces for my dead parts bin!
Fixing Floppy Drive
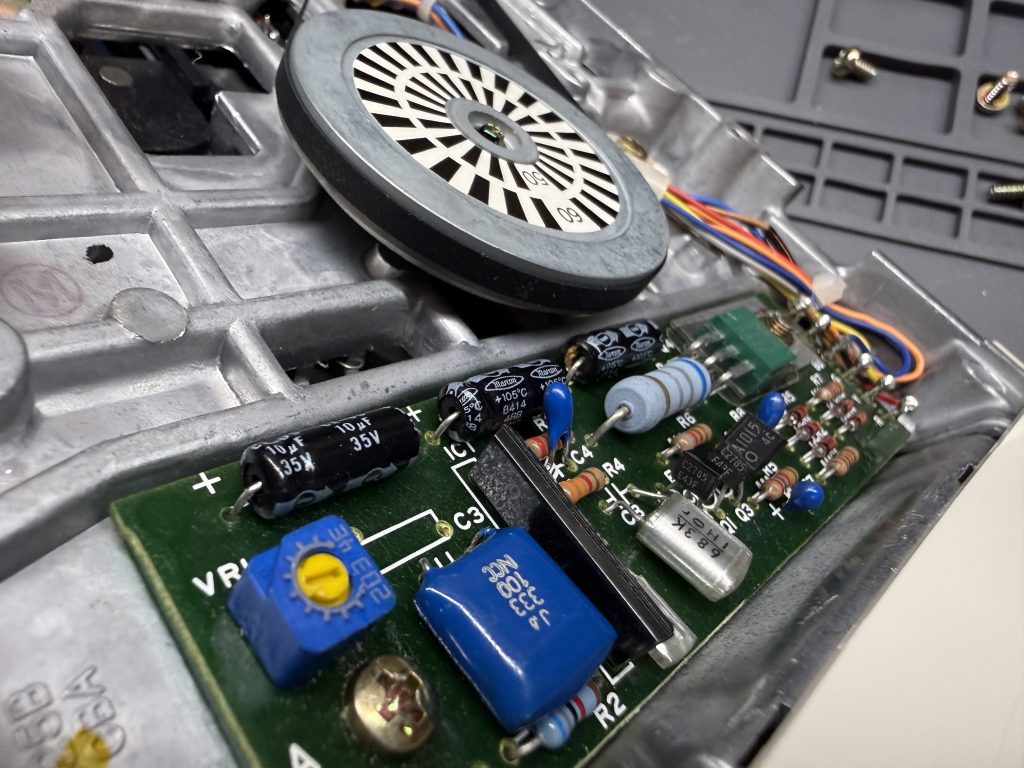
On to the floppy drive! It makes a whining noise and the stepper motor doesn’t seem to be working. The first thing I noticed when disassembling it was some leaky capacitors on the speed controller board. This shouldn’t be causing the issue with the stepper motor, but still a good thing to fix while we are in here. I only had radial capacitors, but they will work just fine as long as the polarity is correct.
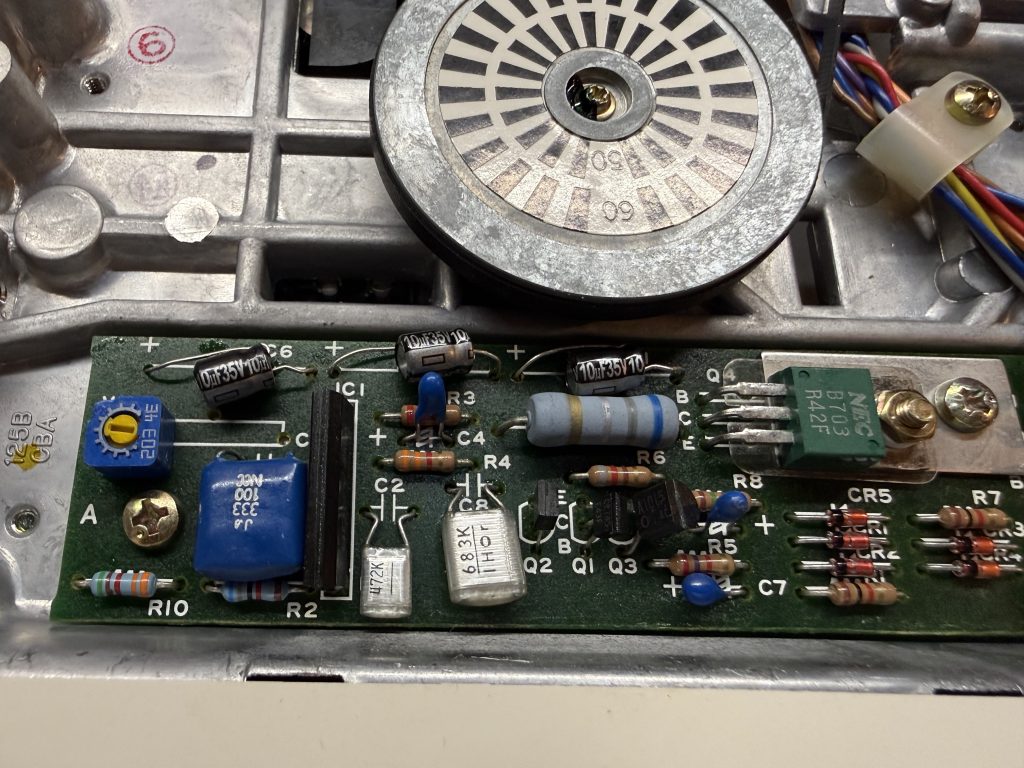
The drive behavior didn’t change at all with the new capacitors, which wasn’t too surprising. Apple II floppy drives are very simple compared to those from other brands available at the time. This is because the drives are entirely controlled by logic on the computer itself. On the Apple //c this logic is located in the Integrated Woz Machine (IWM chip for short). That is most likely the source of issues like this. To test this theory, I pulled a working drive from another Apple //c.
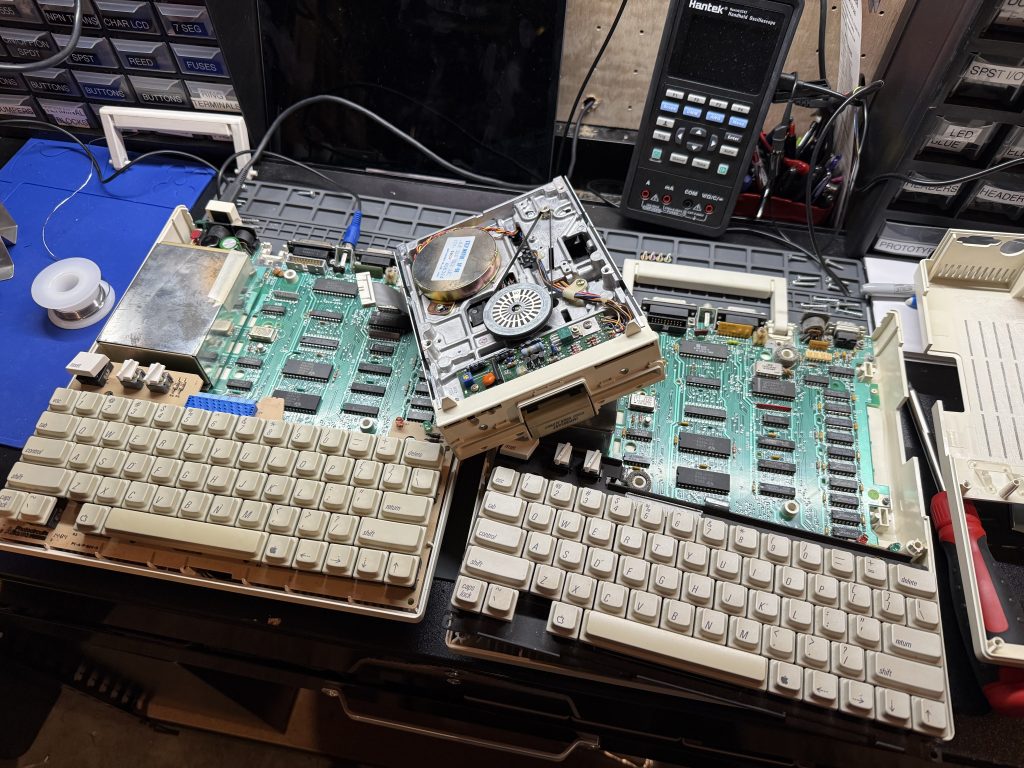
As I suspected, the good drive exhibited the same symptoms on this computer. Luckily, the IWM chip was used on many Apple computers of the era and I’ve got plenty of donor computers laying around!
But first I wanted to test the new floppy drive on my good //c – just to see if it worked. However my good //c wouldn’t turn on at all! This is when I realized my mistake. As I mentioned earlier, the USB-C adapter that I am using to power my //c requires power delivery to work – which I wasn’t thinking about when I plugged it in to the standard USB-A port on my workbench. It is amazing the other computer was able to turn on at all! And completely unsurprising that the floppy drive didn’t have enough power to run the stepper motor.
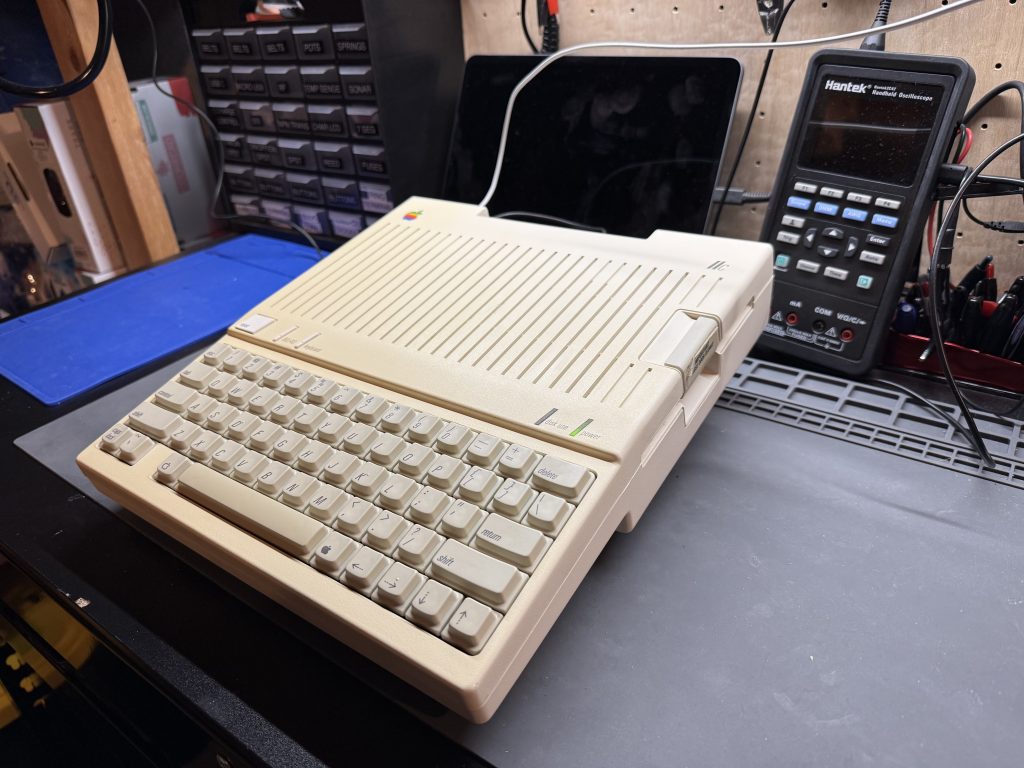
Fixed
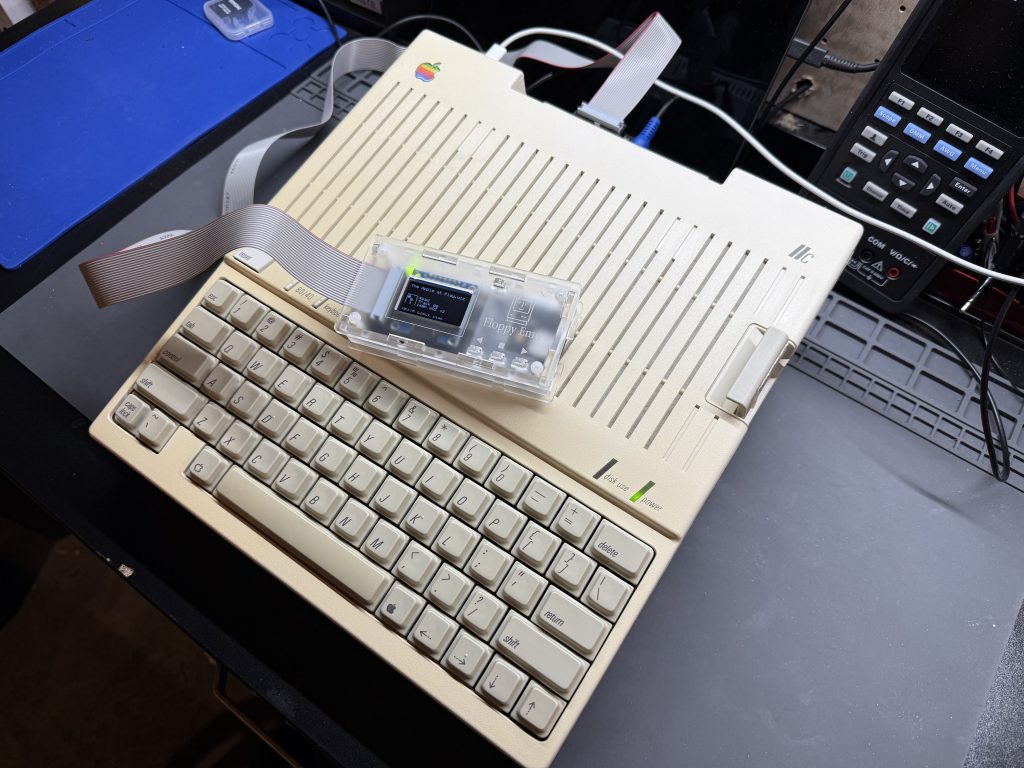
As soon as I switch to a USB port with PD, everything started working as expected. Which means it is time to close up another fixed Apple //c!


Now we can see why I opted for a ROM 4X for this machine. Usually, the Apple //c requires internal modifications to be able to boot from an external floppy drive. This makes using things like the Floppy Emu much harder, especially for beginners. ROM 4X solves this problem by adding a menu that allows you to choose which drive to boot from!
Tools Used
- Hakko Soldering Iron
- Hakko Desoldering Gun
- Hakko Flush Cutter
- Chip Extraction Tools
- Soldering Mat
- Head-Mounted Magnifier
- Pin Straightener
- Keycap Puller
As an Amazon Associate, I earn from qualifying purchases.